Skip to content
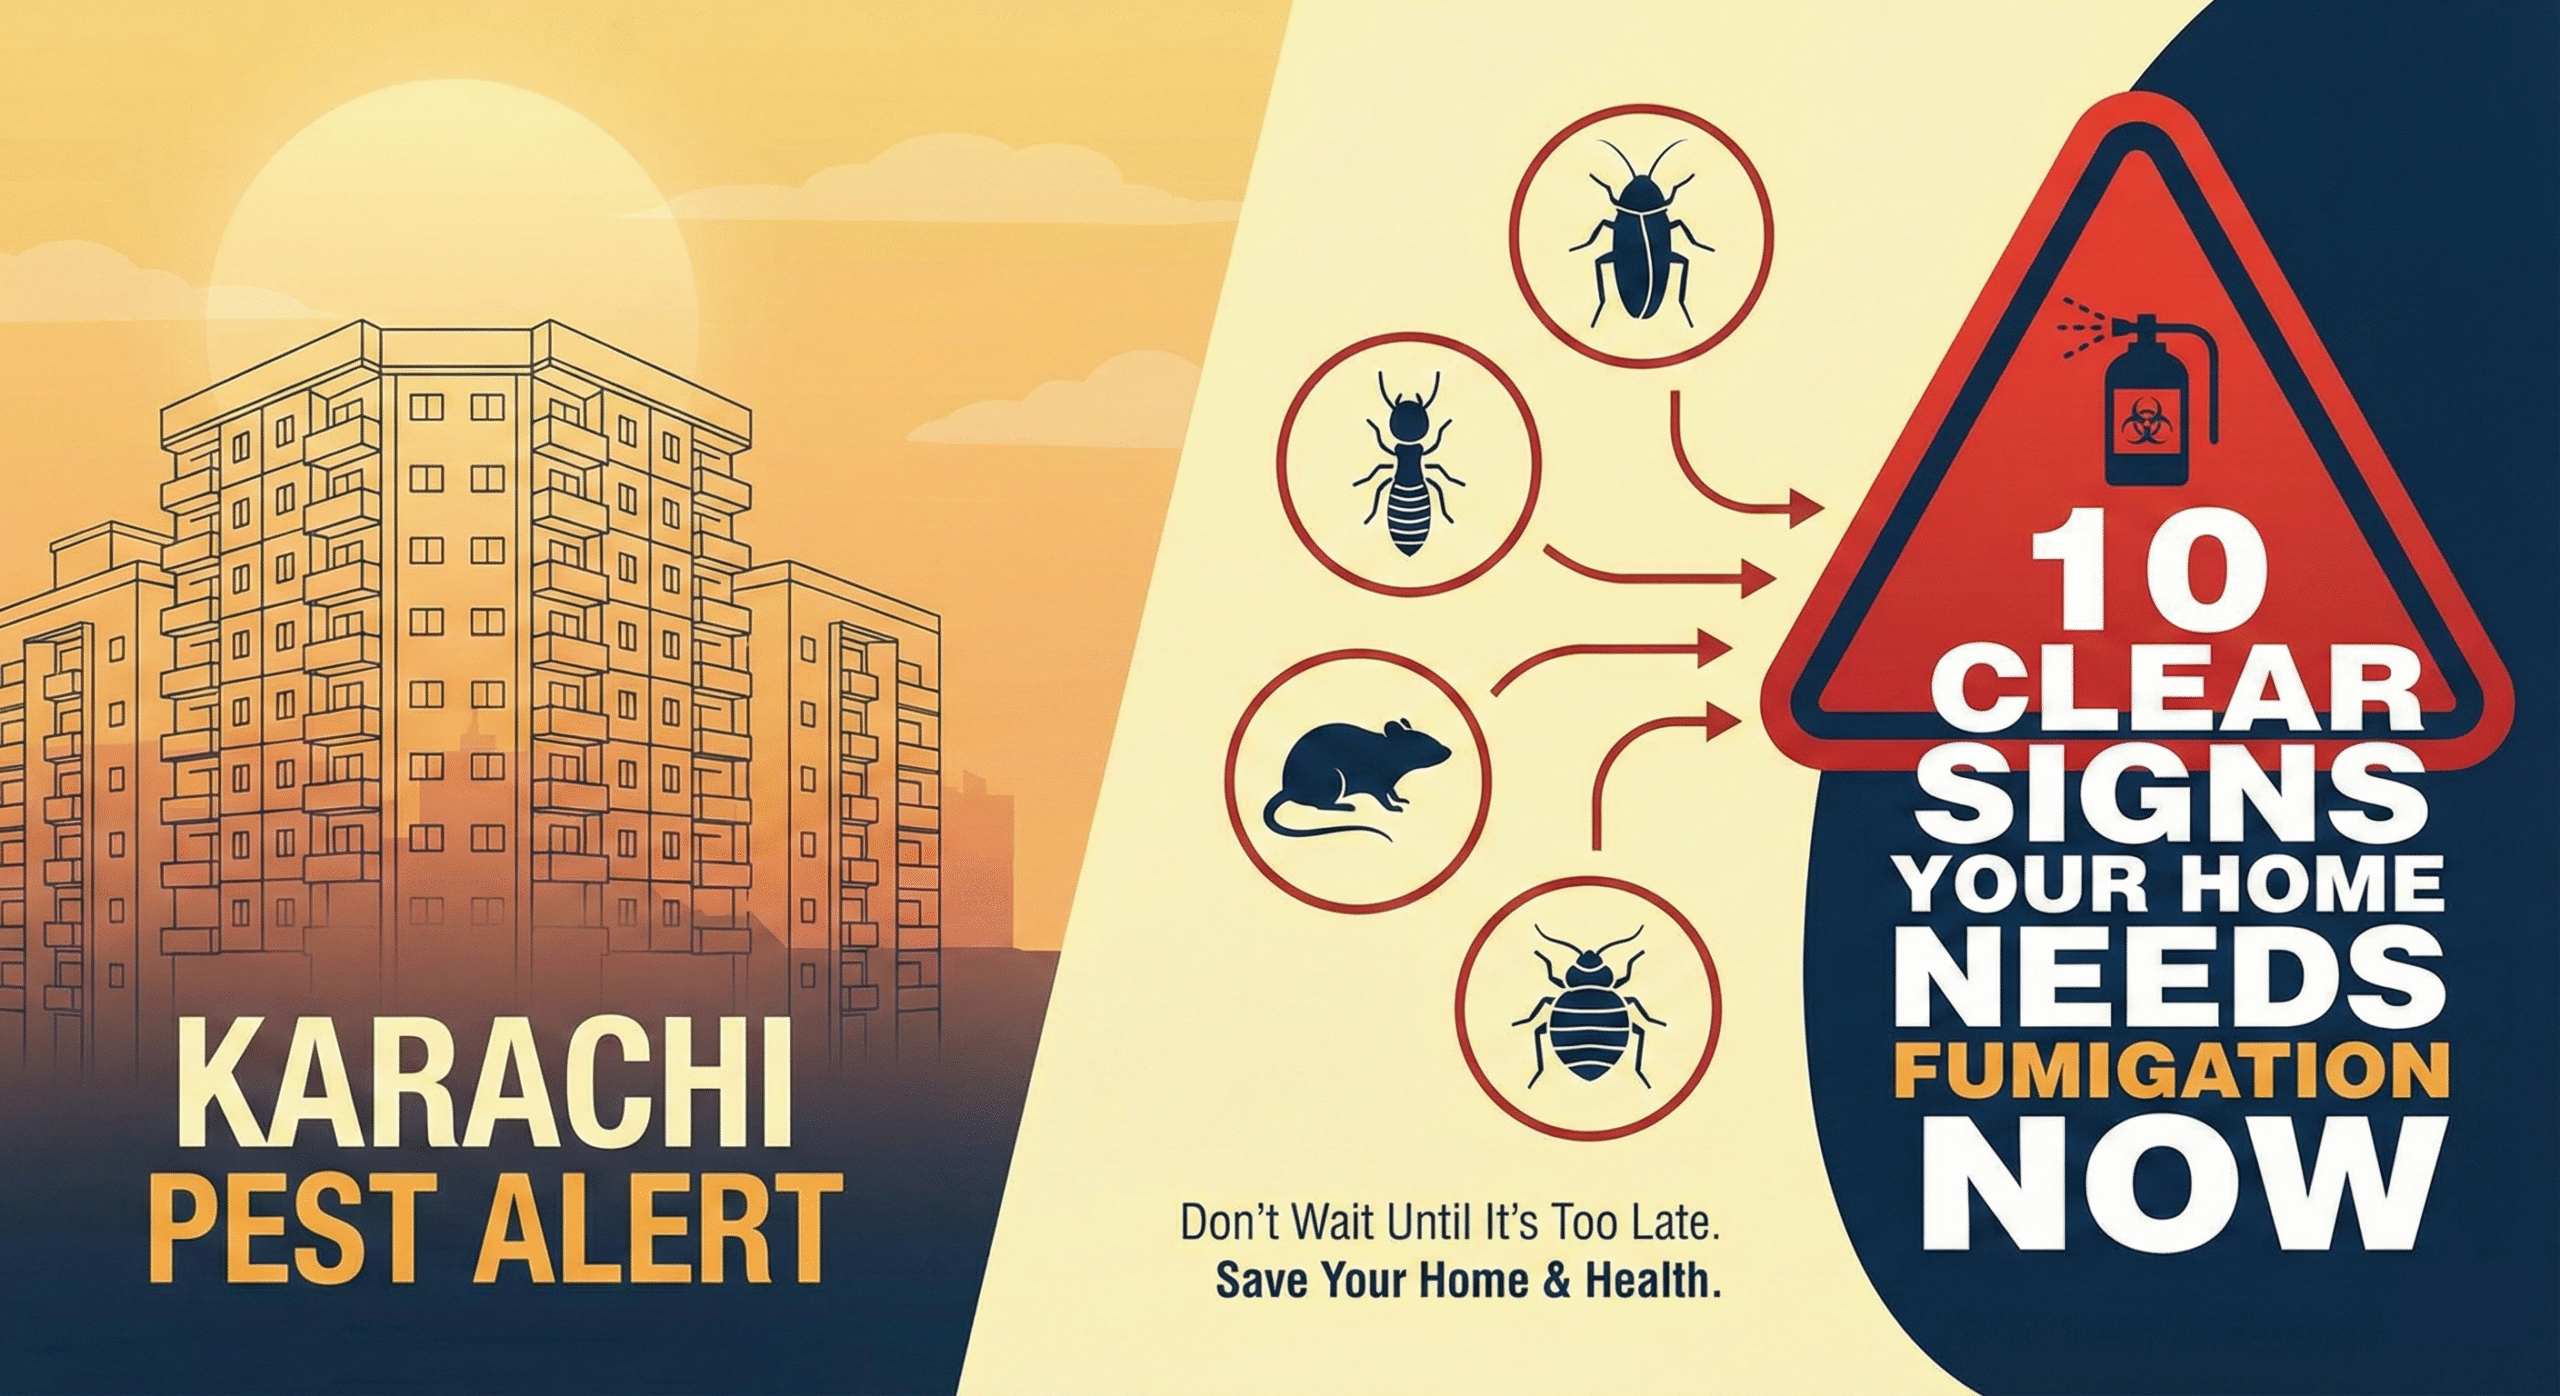
 Dealing with a severe or hidden pest problem—like an entrenched termite colony or a widespread bed bug infestation—often requires the comprehensive power of professional fumigation. Since this process is highly technical, knowing what’s involved can significantly ease homeowner anxiety.
Here is a detailed, step-by-step breakdown of what is included in a standard fumigation service, ensuring your property is treated thoroughly and safely.
Phase 1: Preparation and Planning (The Crucial Foundation)
The fumigation process starts long before the tent goes up. This phase ensures the treatment is effective and customized.
1. Initial Assessment and Confirmation
- A licensed pest control professional conducts a thorough inspection of your property to confirm the type and extent of the infestation.
- Decision Point: They determine if fumigation is the only viable option (often true for drywood termites or severe, widespread bed bugs) or if a localized treatment is possible.
2. Customized Treatment Plan
- The company designs a specific plan based on:
- Pest Type: The fumigant gas needed (e.g., specific gases for termites vs. general pests).
- Structure Size & Volume: Calculating the exact amount of gas required for deep penetration.
- Duration: Setting the required time the gas must be held within the structure (exposure time), typically 24 to 72 hours.
3. Property Preparation & Vacating
- Owner’s Responsibility: You will be given a comprehensive checklist covering essential steps:
- Vacating: All humans and pets must be removed from the property for the entire duration.
- Consumables: All food, drink, open toiletries, and medications must be removed or sealed in specialized protective bags provided by the service.
- Utilities: Gas lines and pilot lights must be turned off to prevent safety hazards.
Phase 2: The Treatment (Sealing and Application)
This is the core phase where the property is contained and the pest-killing gas is released.
4. Sealing and Tenting
- Creating the Barrier: Technicians carefully seal the entire structure, often by covering it with large tarps, a process commonly known as tenting. This creates a sealed environment (or “gas chamber“).
- Purpose: The tent ensures the gas concentration remains lethal to pests throughout the structure, preventing escape and making the treatment uniform.
5. Fumigant Release
- Once the property is completely secured and vacated, the calculated amount of specialized fumigant gas is released into the structure.
- Deep Penetration: The gas permeates virtually every space—wood beams, furniture, walls, floor cavities, and even tiny insect galleries—to kill pests at all life stages (egg, larva, pupa, adult).
Phase 3: Clearance and Post-Treatment (Safety First)
Safety protocols are the final, non-negotiable steps to ensure the property is habitable again.
6. Aeration and Gas Clearance
- Ventilation: After the required exposure time, the tent is safely removed, and the property is actively ventilated. Doors and windows are opened, and specialized fans may be used.
- Safety Checks: The pest control team uses highly sensitive detection equipment to measure the gas levels inside the building. The property is not safe for re-entry until the gas levels have dropped to zero, or below government-mandated safety thresholds.
7. Post-Fumigation Inspection
- Once safe, the technicians conduct a final walk-through to confirm the success of the fumigation by looking for any remaining signs of pest activity.
- Clearance Certificate: The company will issue a clearance notice or certificate, legally confirming that the structure is safe for you and your pets to return.
Summary of Fumigation Benefits
| Benefit | Description |
| Complete Eradication | Kills hidden pests and their eggs, larvae, and adults deep within the structure. |
| Non-Residual | The gas dissipates completely during aeration, leaving no chemical residue on surfaces. |
| Maximum Reach | Treats the entire volume of the structure, ideal for widespread or hard-to-access infestations (e.g., drywood termites in rafters). |